What to Expect From Your Roof Damage Inspection: Step-by-Step Process and Key Insights for Omaha Homeowners
When it comes to maintaining the integrity of your home, understanding the roof damage inspection process is crucial. This assessment is essential for homeowners in Omaha, especially after severe weather events that may cause hidden structural issues. In this article, we will discuss the various stages of roof damage inspections, from initial assessments to detailed reports and repair options. Homeowners can expect to learn valuable insights on preparing for inspections and understanding the common signs of roofing issues. The aim is to equip you with the knowledge needed to ensure your roof remains safe and secure.
We will walk you through a comprehensive overview of the roof damage inspection process, starting with the initial inspection and documentation, followed by professional assessments, detailed evaluations, and scheduling repair options. Additionally, we will cover key insights into what is included in a professional roof inspection and highlight significant steps in preparing for this necessary evaluation.
Step-by-Step Procedures
Understanding the various steps in the roof damage inspection process is vital. Each stage plays a crucial role in identifying potential issues and ensuring your roof’s safety and longevity.
Initial Inspection and Documentation
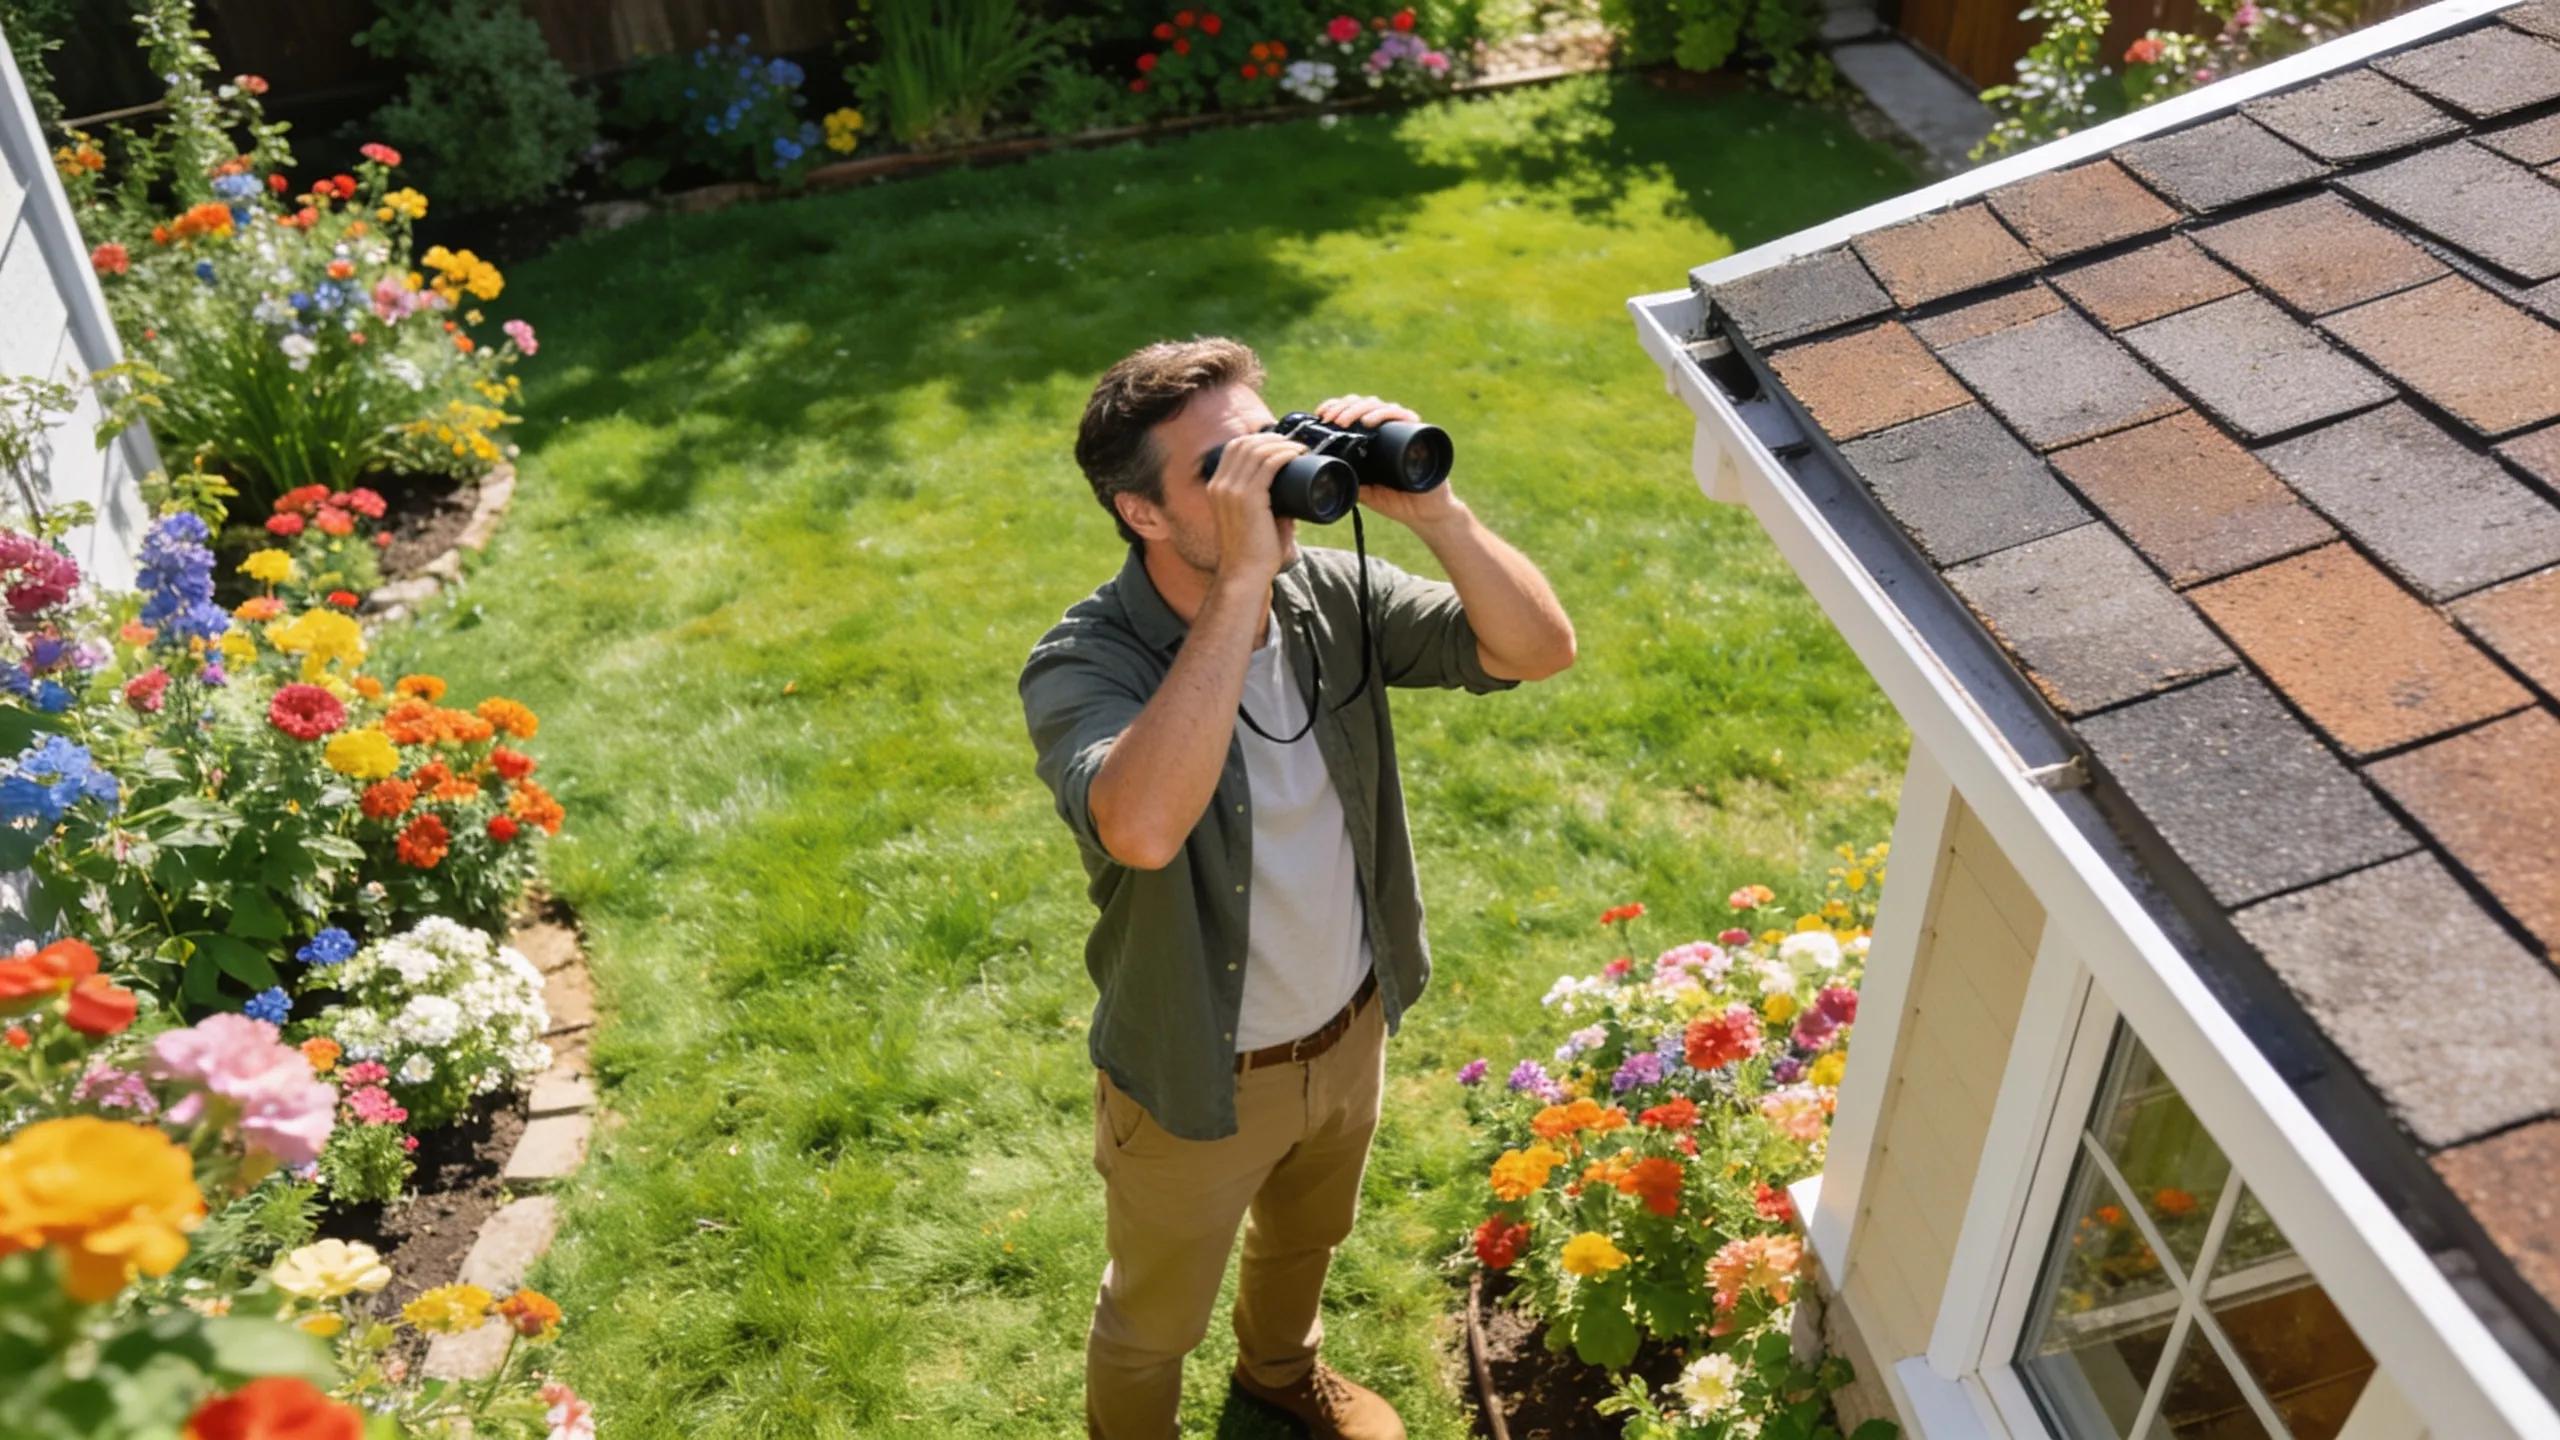
The initial inspection is the first step in assessing roof damage, typically performed by the homeowner or an initial on-site contractor. This stage involves an overview of the roof’s condition and entails identifying visible signs of damage. Common indicators include missing shingles, discoloration, and signs of leaks or water damage. Carrying basic tools such as binoculars for distance viewing can enhance the effectiveness of this initial assessment.
This initial documentation is essential as it sets the stage for more thorough evaluations. Recognizing these early warning signs can help you address potential roofing issues before they escalate, thus preserving the structural integrity of your home.
Professional Inspection
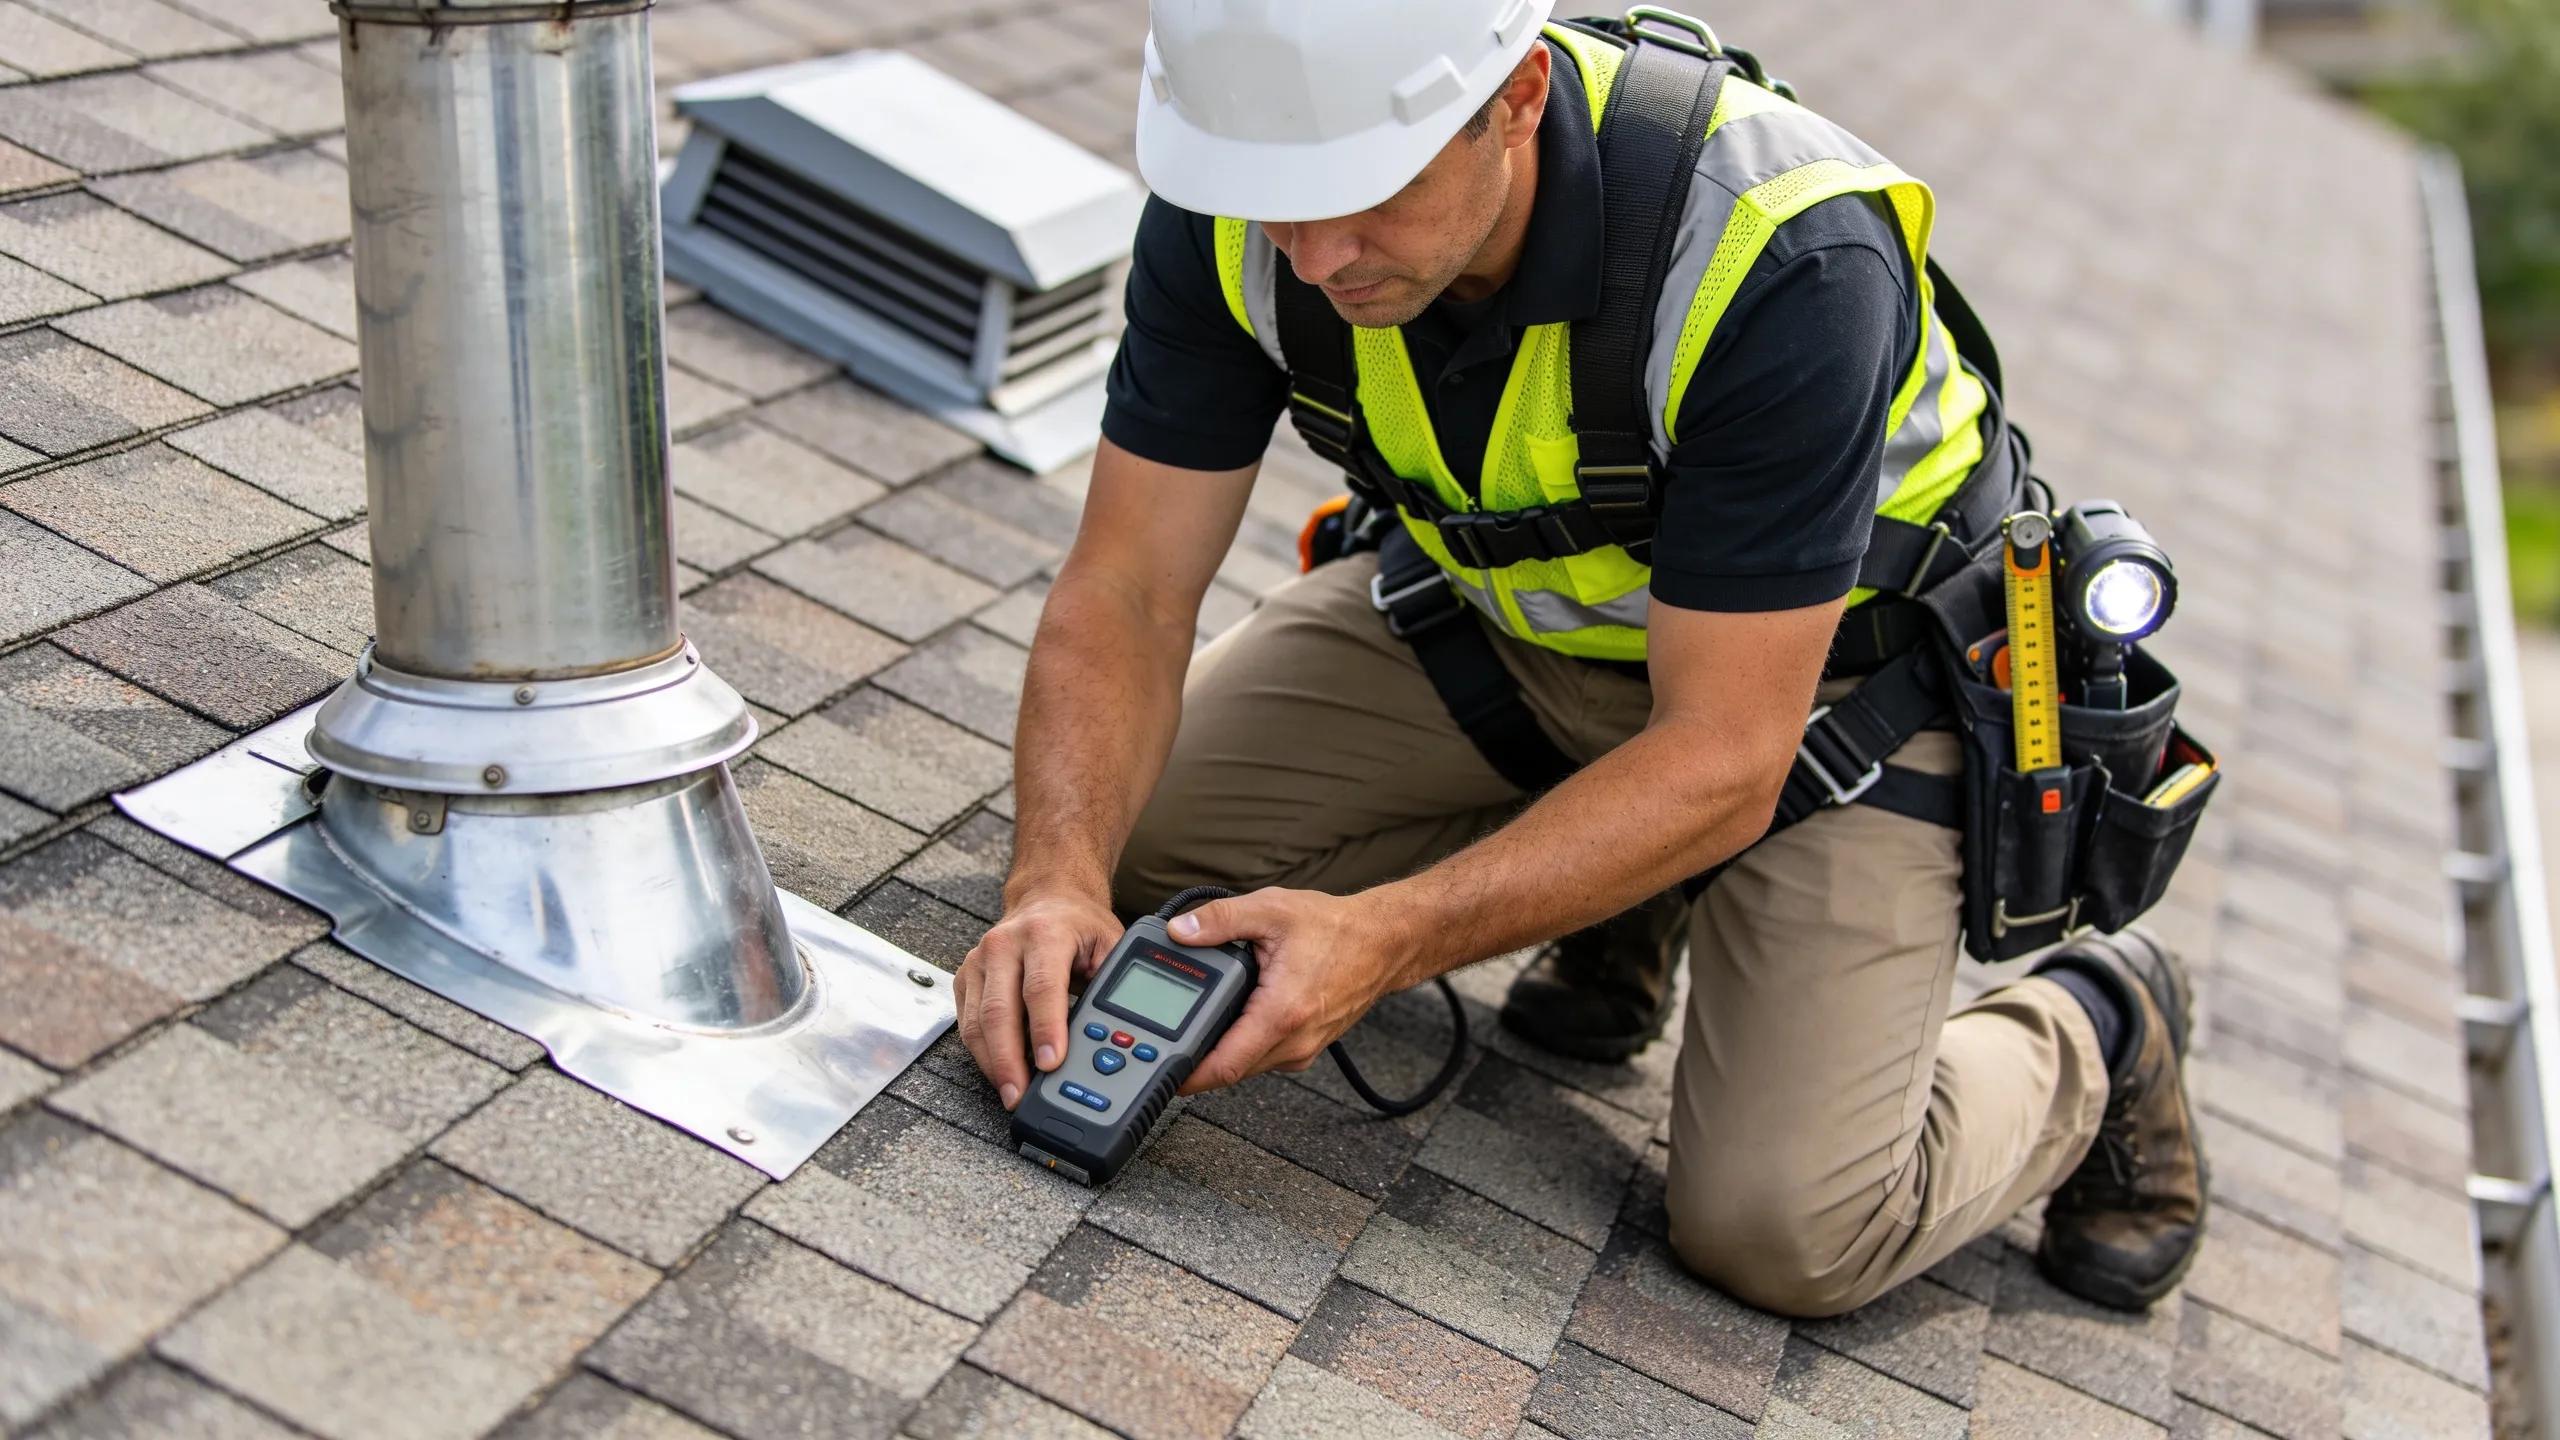
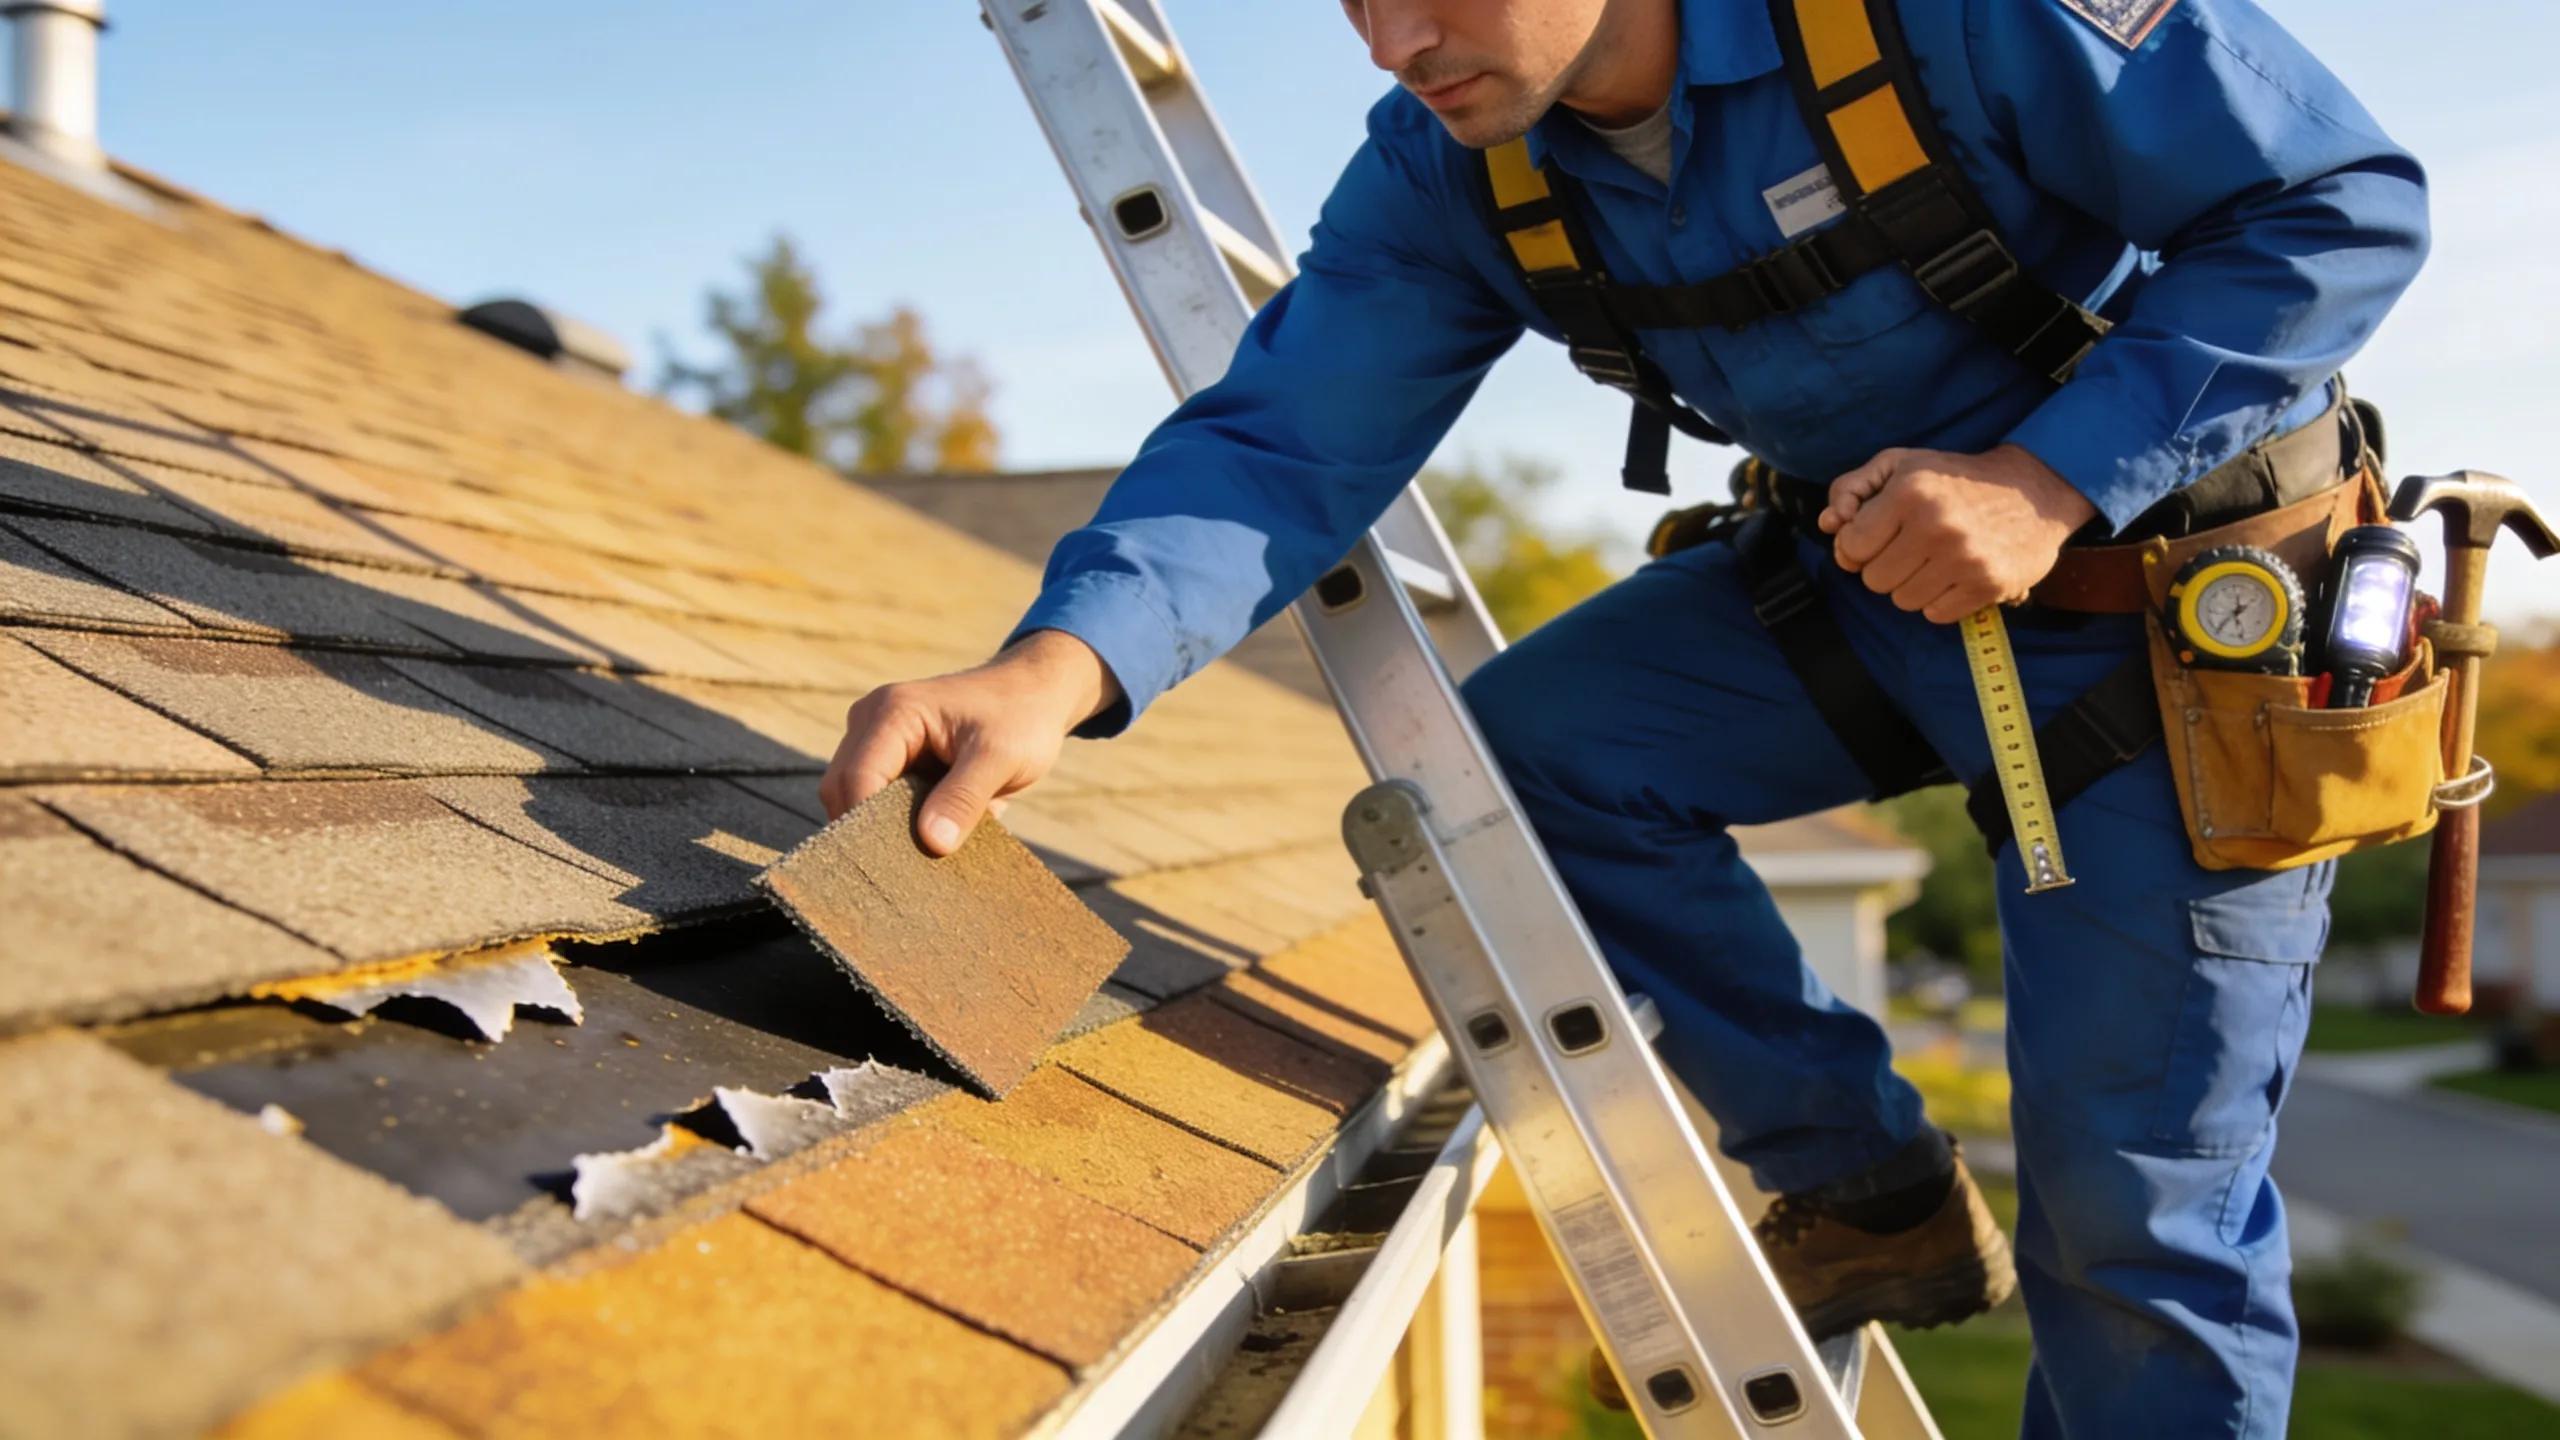
Hiring a licensed roofing inspector is crucial for a comprehensive assessment. Professional inspections are invaluable due to their expertise in identifying hidden issues that may not be visible during an initial assessment. Qualified inspectors utilize specialized tools and techniques to thoroughly examine the roof’s various components, including shingles, flashing, and ventilation systems.
Documentation from the inspector serves as a vital record, which can be beneficial for insurance claims and future reference. Engaging professional services ensures that you receive an accurate evaluation, leading to informed decisions regarding repairs or maintenance.
Detailed Assessment
During a detailed professional inspection, the contractor conducts a meticulous evaluation of the roof, assessing not only visible components but also underlying structures. This may include checking for moisture intrusion, rot, or structural damage, which are critical for maintaining the roof’s integrity.
Advanced techniques, such as moisture detection tools and thermal imaging, are often employed during this stage. These assessments ensure that any hidden damage is identified early on, preventing unforeseen complications down the line.
Repair Options and Estimates
After the inspection, homeowners receive a detailed report outlining the findings, along with repair options and cost estimates. Understanding typical repairs can help homeowners make decisions quickly. Common services may include shingle replacement, flashing repairs, or gutter cleaning.
It is essential to receive written proposals from contractors to ensure transparency during the repair process. By comparing estimates, homeowners can make informed decisions about which contractor to hire for the necessary repairs.
Scheduling Repairs
Once you have received the estimates and chosen a contractor, the next step is scheduling the repairs. Timing can vary based on the severity of the damage and the contractor’s availability. It is advisable for homeowners to consider weather conditions when scheduling to ensure a seamless repair process.
Preparing the area around your home to facilitate easy access can also expedite the repair timeline. This might include moving vehicles or outdoor furniture away from the work zone.
Post-Repair Follow-Up
After repairing damage, several follow-up steps are essential for ongoing maintenance. Homeowners should document the repairs performed, maintaining records for insurance and future reference. It is also advisable to schedule a follow-up inspection within a few months to ensure all repairs meet building codes and standards.
Regular follow-ups help in monitoring the roof’s performance and can lead to more extended preservation of its functionality and appearance.
Key Insights
Local weather patterns significantly influence roofing conditions in Omaha, necessitating regular inspections. Extreme weather, such as storms and hail, often results in roof damage that goes unnoticed until significant issues arise. Regular inspections can help identify potential problems early, allowing homeowners to take proactive measures to protect their property.
Understanding the importance of roof maintenance is critical for homeowners. Regular inspections and timely repairs can extend the lifespan of your roof and avoid costly replacements.
What Is Included in a Professional Roof Damage Inspection?
A professional roof damage inspection typically covers several key components. Inspectors evaluate the roof’s surface, flashing, seals, and internal structures for moisture or damage. Identifying areas susceptible to leaks or deterioration is crucial for maintenance.
Additionally, inspectors will check for proper ventilation and insulation, as both are vital for maximizing the roof’s efficiency and longevity. These elements contribute to a comprehensive evaluation that enables accurate repair assessments.
Which Signs of Roof Damage Does the Inspection Detect?
Roof damage can manifest in several ways, and inspectors are trained to detect these signs, including:
- Missing or Damaged Shingles: A clear indication of aging or severe weather damage.
- Leaks and Water Stains: Visible wet spots or stains on ceilings indicating moisture infiltration.
- Mold Growth: Signs of mold or mildew often indicate ongoing moisture issues affecting the roof structure.
Identifying these signs early can prevent extensive damage and costly repairs.
How Does a Storm Damage Roof Assessment Differ?
Storm damage assessments require special criteria, particularly in photographic documentation for insurance claims. Inspectors will specifically evaluate damage patterns consistent with high winds or hail impacts. This tailored assessment helps in accurately defining the damage’s cause and obtaining appropriate repairs and compensation.
Considering their complexity, it’s crucial for homeowners to understand the nuances involved in storm damage assessments, ensuring they receive the appropriate documentation and support when filing claims.
How Is the Roof Damage Inspection Process Conducted?
The roof damage inspection process is typically conducted in a structured manner:
- Initial Assessment: Homeowners or contractors identify visible damage.
- Hiring a Professional: Engaging a licensed inspector for a thorough evaluation.
- Detailed Inspection: Comprehensive examination of the roof and underlying structures.
- Repair Recommendations: Contractors provide estimates based on identified damage.
Following these steps can help homeowners effectively navigate their roof maintenance needs.
What Are the Key Steps in the Roof Inspection Checklist?
A checklist for homeowners preparing for a roof inspection should include:
- Gathering Necessary Documents: Having insurance and warranty information ready.
- Preparing Your Home: Ensuring easy access to the roof for inspectors.
- Identifying Visible Damage: Documenting any visible roof issues before the inspection.
These steps prepare homeowners for a thorough evaluation and help optimize the inspection process.
How Long Does a Typical Roof Damage Inspection Take?
A roofing inspection can vary in duration but generally lasts between 30 minutes to 1.5 hours, depending on the roof’s size and complexity. Homeowners should factor in additional time for discussions around findings and recommendations following the inspection.
These timeframes allow ample opportunity for inspectors to evaluate all necessary components of the roof comprehensively.
What Should You Do to Prepare for Your Free Roof Damage Inspection?
Preparing for a roof damage inspection involves several important actions:
- Gather Relevant Documentation: Collect any warranty or insurance information.
- Clear Access: Ensure roofs and gutters are accessible for the inspector.
- Identify Areas of Concern: Document specific areas of the roof you feel may require extra attention.
This preparation ensures that inspectors can perform a complete and accurate evaluation, leading to better-informed repair recommendations.
How to Schedule Your Free Storm Damage Roof Inspection?
To schedule your free storm damage roof inspection, contact professional roofing services in your area, such as those provided by Pyramid Contractors LLC. Be ready to provide your details and any specific concerns regarding the storm damage you suspect.
Scheduling promptly after a storm can help ensure any damage is properly assessed and documented for insurance purposes.
What Documents or Information Should You Have Ready?
When preparing for a roof damage inspection, having these documents ready can streamline the process:
- Insurance Policy Details: Essential for discussing potential claims.
- Warranty Information: Important if repairs fall under warranty coverage.
- Photographic Evidence: Images capturing visible damage to aid discussions with contractors.
These documents enhance the efficiency of the inspection process and facilitate better communication with your chosen inspector.
How Are Roof Damage Repair Estimates and Financing Options Presented?
Roof damage repair estimates typically itemize the services required, along with their associated costs. This breakdown helps homeowners understand the financial aspects of repairs more clearly.
Additionally, discussing financing options with contractors can provide solutions for those needing assistance with funding repairs, ensuring that all homeowners have access to necessary services.
What Factors Influence Your Roof Damage Repair Estimate?
Several factors can impact your roof damage repair estimate:
- The Extent of Damage: More extensive damage results in higher repair costs.
- Materials Used: High-quality or specialized materials can influence pricing.
- Labor Costs: The complexity of the repair may also affect the overall labor expense.
Understanding these factors can help homeowners prepare better for potential repair expenses.
Which Financing Options Are Available for Roof Repairs?
Financing options for roof repairs may include:
- Home Improvement Loans: Special loans offered for repair projects.
- Insurance Claims: Using funds from insurance claims to cover repairs.
- Contractor Financing Plans: Some contractors offer payment plans for homeowners.
These options provide flexibility and help ensure homeowners can manage the costs associated with necessary repairs effectively.